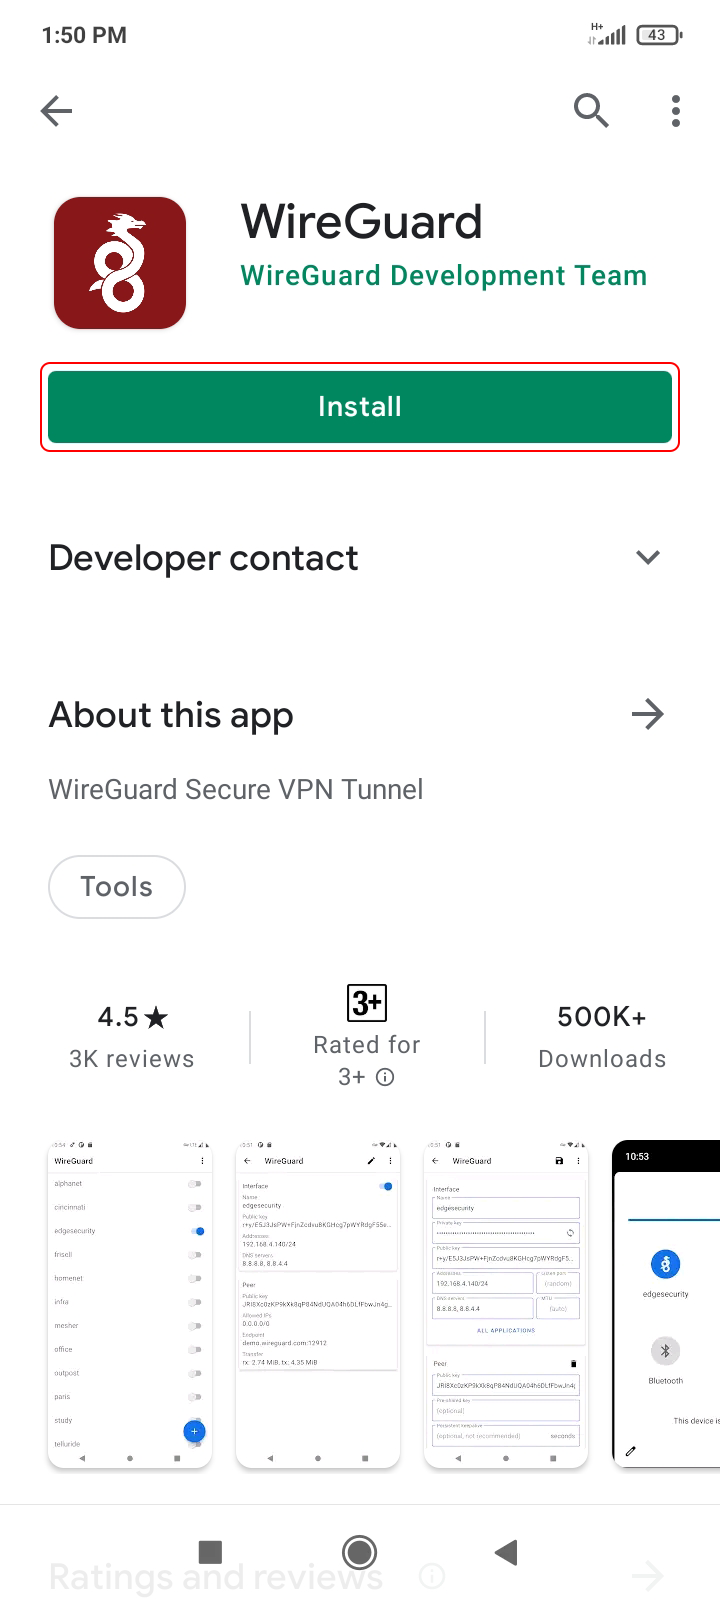
Téléchargez et installez le client officiel WireGuard depuis Google Play : Google Play : WireGuard
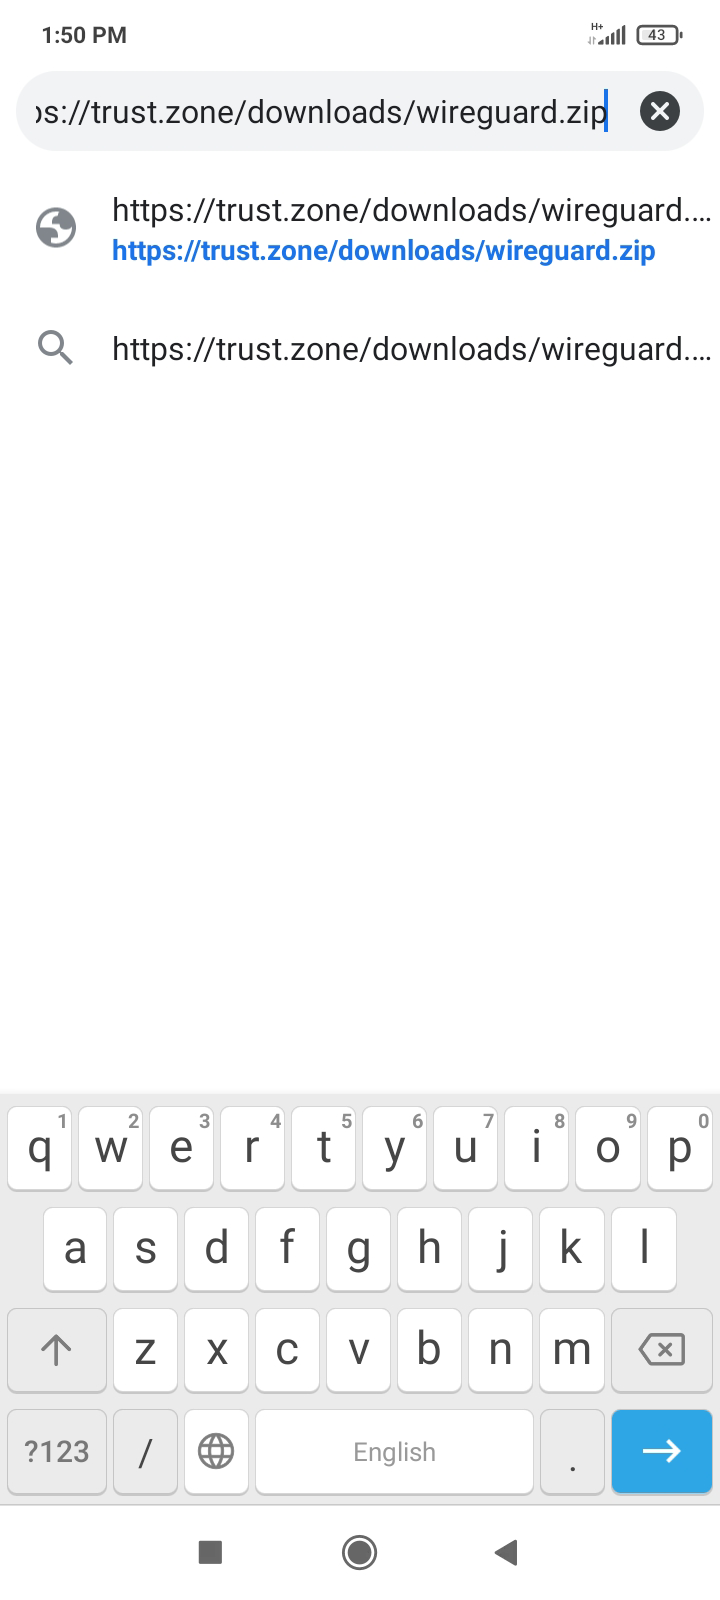
Ouvrez votre navigateur préféré sur votre appareil Android, assurez-vous d’être connecté à votre compte Trust.Zone et téléchargez le fichier d’archive wireguard.zip. Ce fichier d’archive contient les fichiers de tunnel WireGuard pour toutes les zones VPN Trust.Zone :
Tous les fichiers de tunnel WireGuard sont compressés en ZIP: Caché. Connectez-vous ou inscrivez-vous pour voir.Veuillez NE PAS partager votre wireguard.zip avec qui que ce soit, car il contient votre clé d’authentification personnelle.
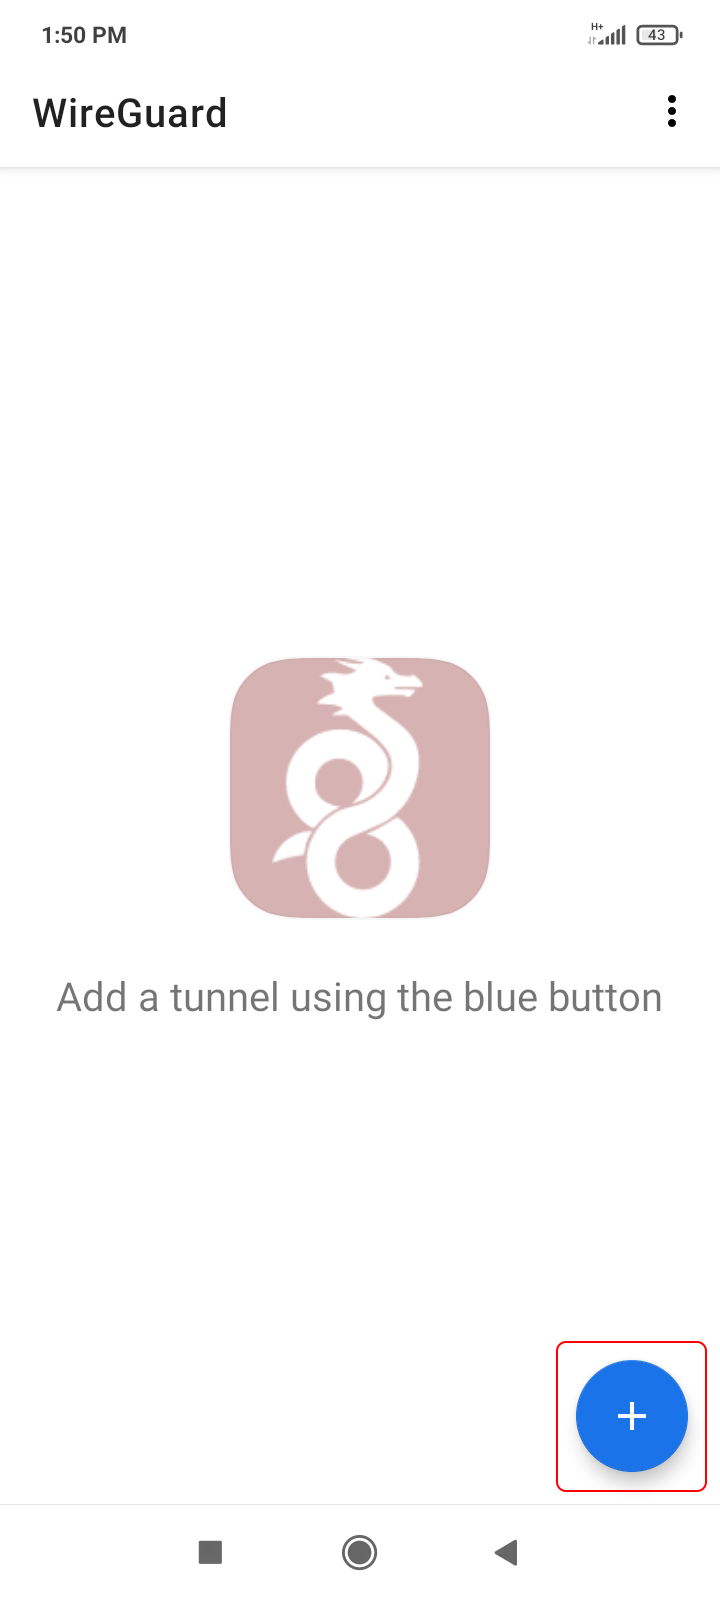
Exécutez l’application WireGuard et appuyez sur l’icône + bleue.
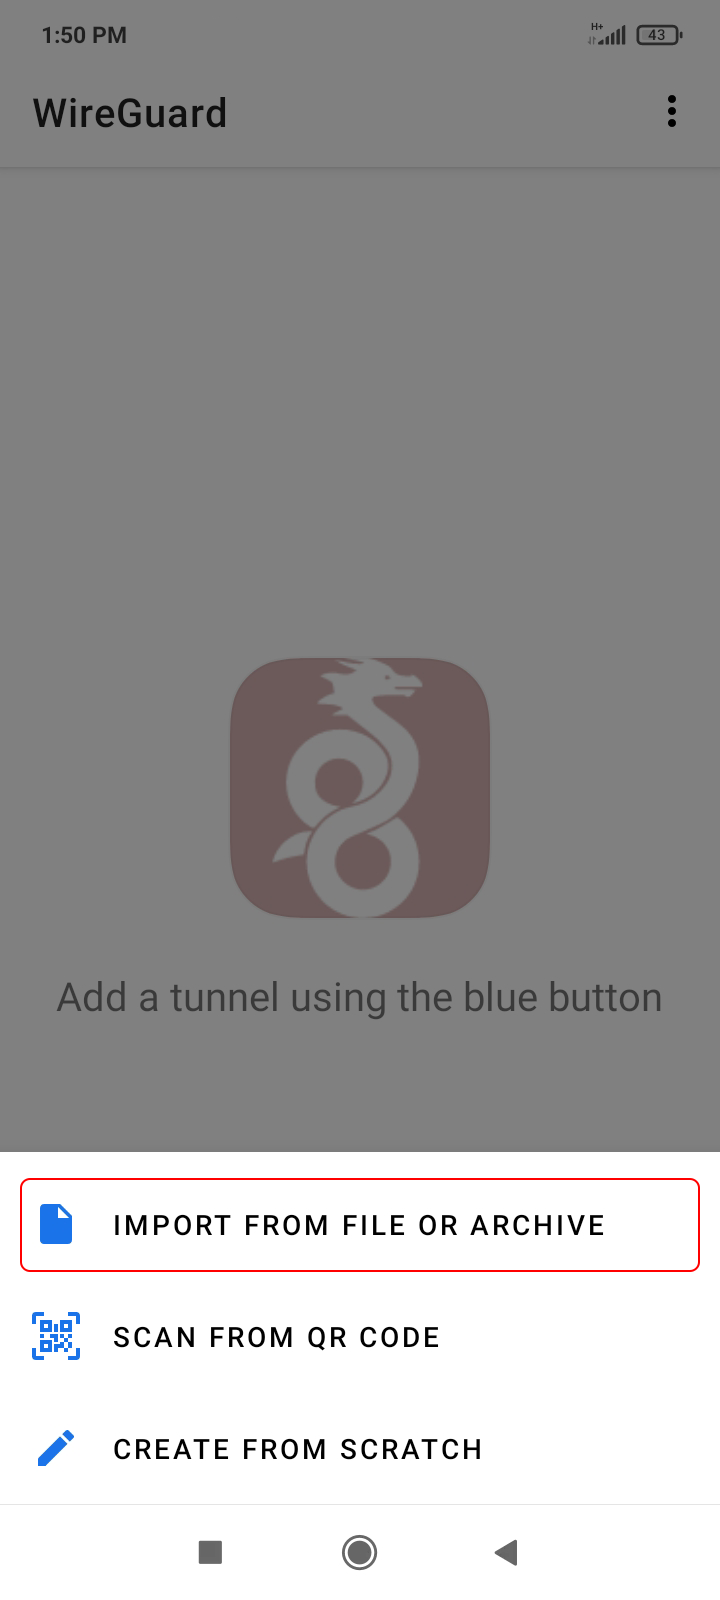
Appuyez sur l’option IMPORTER À PARTIR D’UN FICHIER OU D’UNE ARCHIVE .
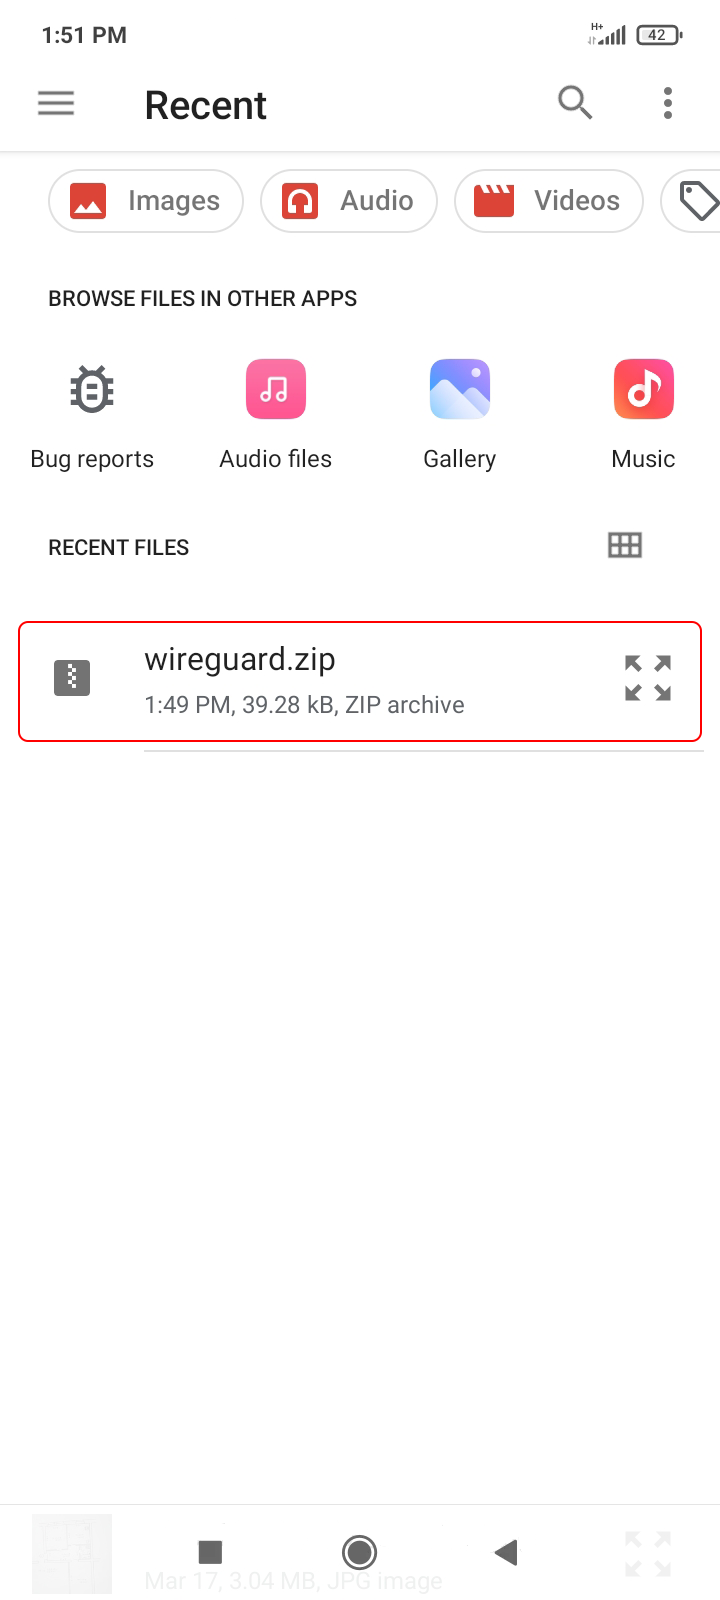
Accédez au fichier wireguard.zip que vous avez déjà téléchargé et sélectionnez-le. Vous devrez peut-être effectuer un appui long sur le fichier wireguard.zip afin de sélectionner l’archive zip elle-même au lieu de l’ouvrir. Un clic court peut ouvrir l’archive et afficher son contenu, ce qui n’est pas ce dont nous avons besoin.
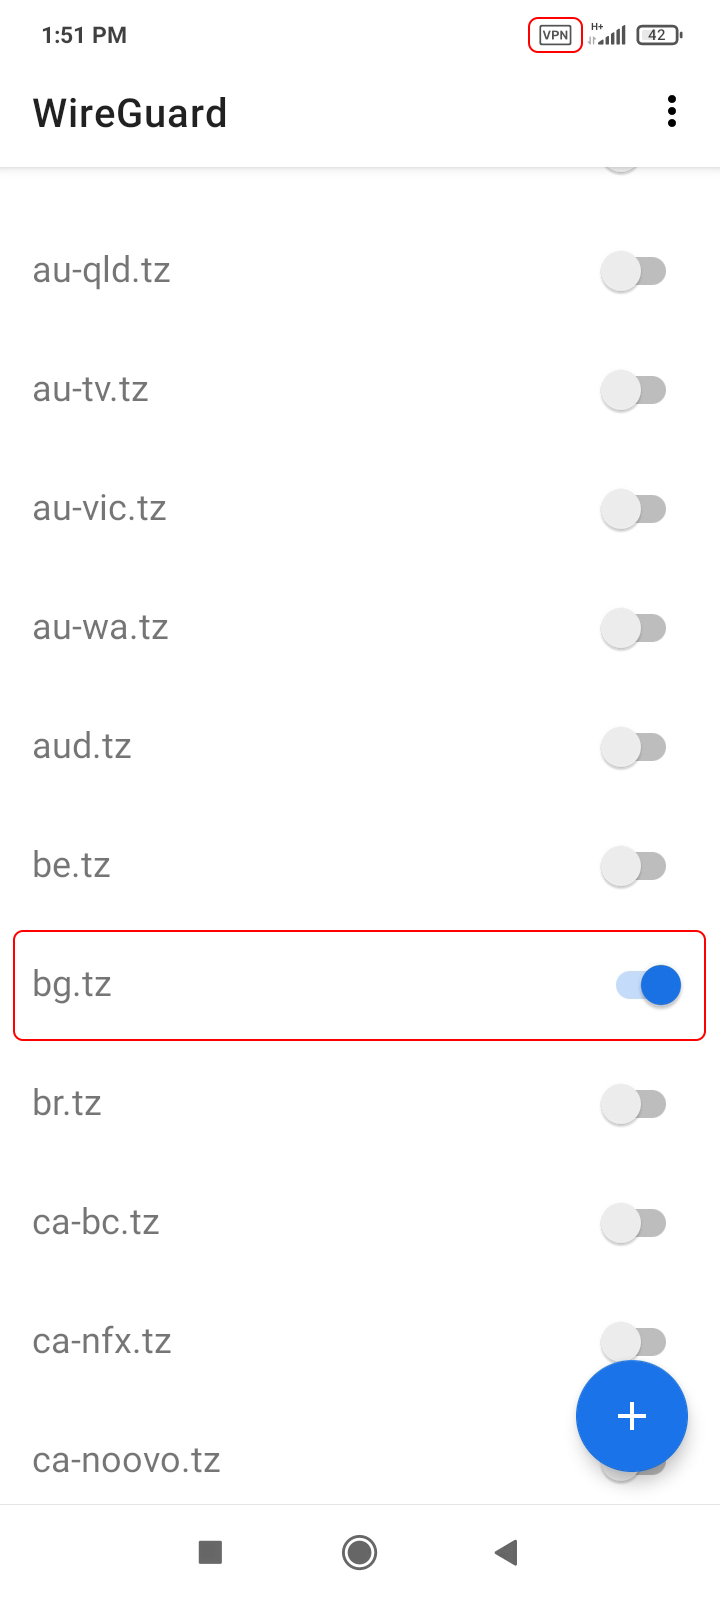
La liste des tunnels WireGuard sera remplie avec les emplacements Trust.Zone, sélectionnez l’emplacement VPN souhaité et appuyez sur le nom de l’emplacement du commutateur pour vous connecter.
Ouvrez la Page Oprincipale de Trust.Zone et rechargez-la si elle est déjà ouverte afin de vérifier si votre connexion avec le VPN Trust.Zone est correctement établie.
Vous pouvez également visiter notre Page de Vérification de Connexion.
 Votre IP: x.x.x.x ·
  Serbie ·
Votre emplacement réel est caché!